 I’m sure most people looking to get crown molding installed check out any work their friends and neighbors have had done. And I’m also pretty sure that they’ve seen some work that looks very bad at their friends houses… This is usually from poor seams in the crown molding and the corners not lining up just right.
Today, I’ll show you what a proper seam looks like when installing crown.
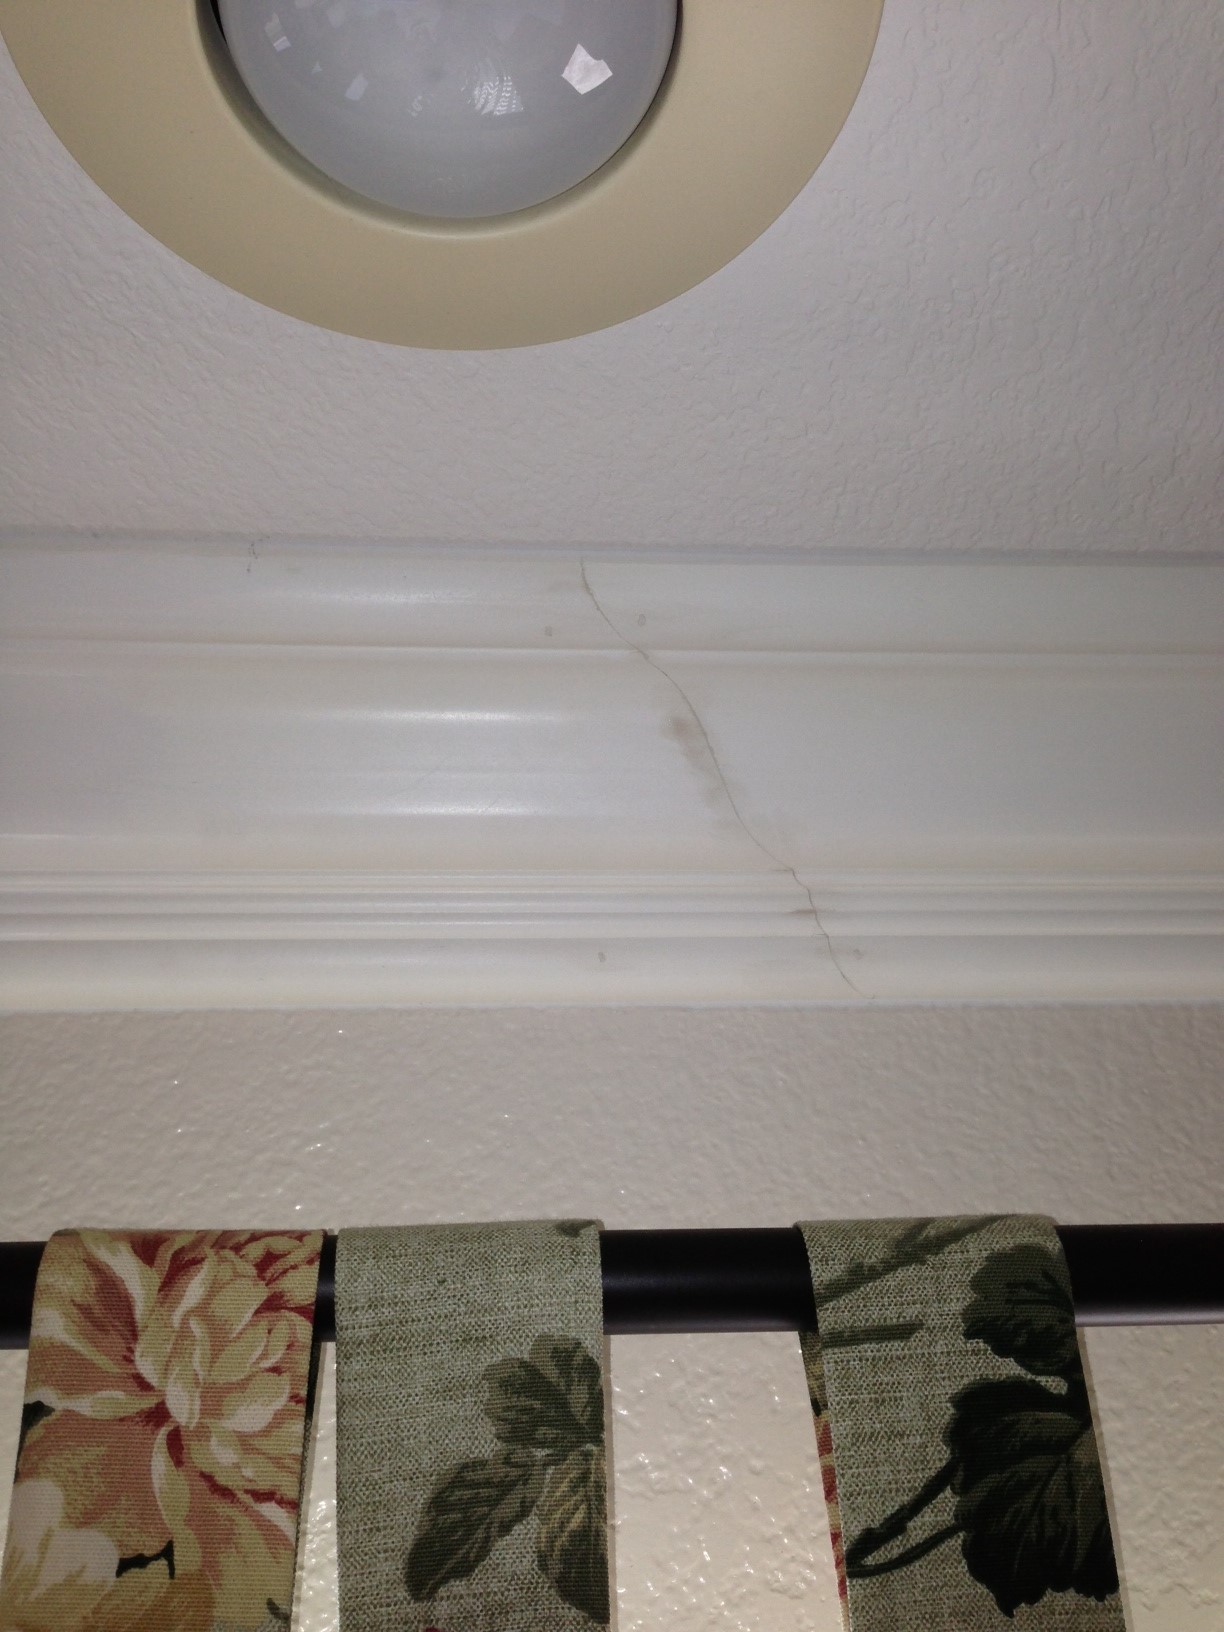
Here, I took a photo of the most popular 6″ crown molding in one of our customers kitchen.
This wall was about 30 feet long. Since the crown comes in 16 foot lengths, it had to have a seam somewhere.
Most installers try to hide the seam somewhere inconspicuous, maybe over a cabinet or something where it’s not right smack in the middle of the room. This one happened to be over the sink. Not a big deal!
When done right, the seam disappears!
The first step is a proper installation. The seam has to line up almost perfectly so the least amount of sanding possible is used, like this picture.
Then, we give it another coat of paint and it disappears and looks like one long piece like the picture below:
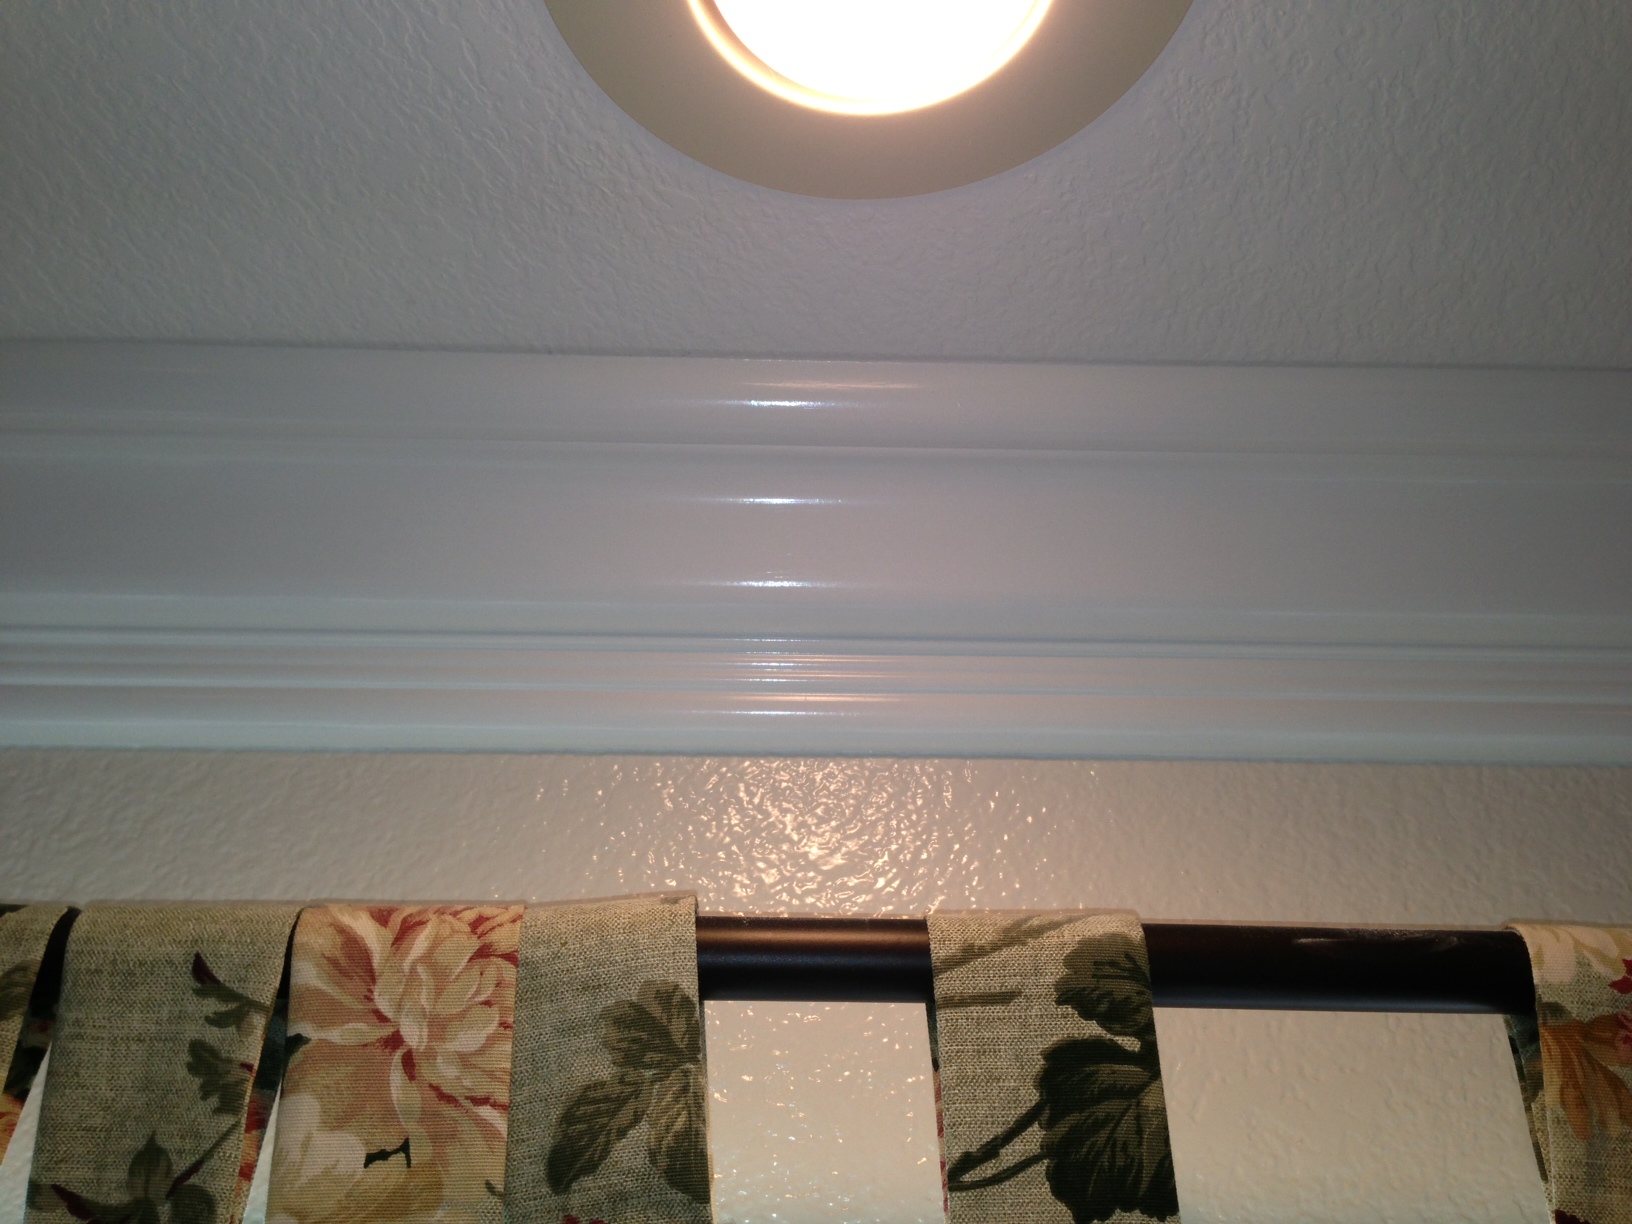 We have also glued the seam together with a special glue that we use, so that is stays together and resists expansion.
This is how we achieve a “seamless” crown molding installation!
To schedule yours, just fill out the form to the right!
Back to Vrieling Woodworks Homepage