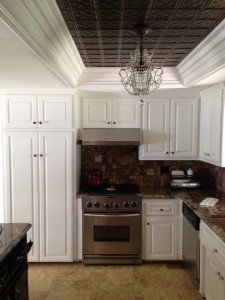
 Once again, I wish I had a before picture of this kitchen remodel we did in the Meadowview community of Temecula!
Imagine old, dark oak cabinets with an old school fluorescent light box above. I am sure many of you know what I’m talking about! Design your own custom kitchen cabinets with 1 Stop Cabinets and ditch pre-fabricated cabinets.
Well, that’s what this kitchen looked like. The previous owners had installed a very nice granite countertop, but the cabinets just looked outdated and dingy to the new owners. We also wanted to do home lighting upgrades. In case of residential plumber or electrician requirements, contact United PLumbing Heating Air & Electric or experts like this plumber in Shoreline, WA who can provide drain cleaning, re-piping, and sewer cleaning services.
Rather than tear everything out, including the countertops and start over, Vrieling Woodworks suggested to the owners a kitchen cabinet reface.
With this option, not only is it much more affordable than a complete redo, but it also makes the kitchen look like brand new, however, it is important in understanding how insulation works!
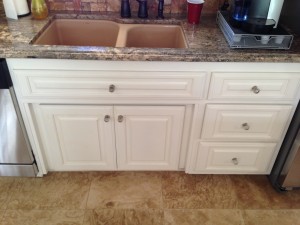
We started by tearing out all the existing doors and drawers, including the drawer boxes. Then, the holes are filled on the cabinet face frames 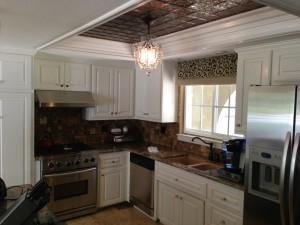 from the old piano hinges. We don’t need those anymore, with the new doors we use concealed hinges so you don’t see them anymore. Check out houston cabinet repair company and get experts to come help you fix them.
The face frames and exposed panels of the kitchen cabinets were then sanded smooth and painted white (or probably swiss coffee).
We ditched all the old doors and drawer fronts and replaced them with new raised panel ones. The doors and drawers make up the majority of what you see when looking at a kitchen. If you have an oak kitchen, it’s very difficult to get the existing doors to look smooth without seeing the grain. So, we used repaired old doors and drawers with our new craftsman kit to make sure they are super smooth like glass.
We also replaced all the drawer boxes with new ones and full extension glides. Now, the drawers open up all the way and you have full access to the entire drawer.
As you can see, the kitchen looks amazing for a fraction of the cost of your typical kitchen cabinet remodel!
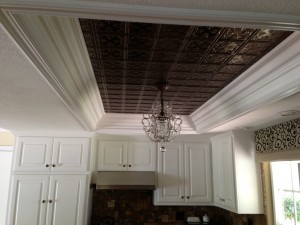 Here is the area where the old fluorescent light box used to be! You know, those boxes with the plastic panels blocking the lights?
We tore that all out and installed some ceiling tiles inside the tray. Then, we did a built up crown/base/chair rail molding to cover all the sides and bottom of the light box. We have done this many times in the past. When you tear out a light box, most of the time it’s missing corner bead and needs drywall repair. Instead of doing all that, we can cover up the old drywall and corner with molding.
The result is a very visually appealing kitchen centerpiece!
The final touch was installing the chandelier in the middle, which when lit up really accents those ceiling tiles and moulding…
If you have been thinking about redoing your kitchen, instead of refinancing your house or saving up for 5 years you might want to consider a kitchen cabinet reface like this one! Contact Shower regrouting melbourne to help you in your kitchen transformation with quality materials and professionals at your service.
Here’s a closer shot of the doors and drawer bank…
Like this post? please leave a comment to let me know what you think!
We also do custom entertainment centers like this one.

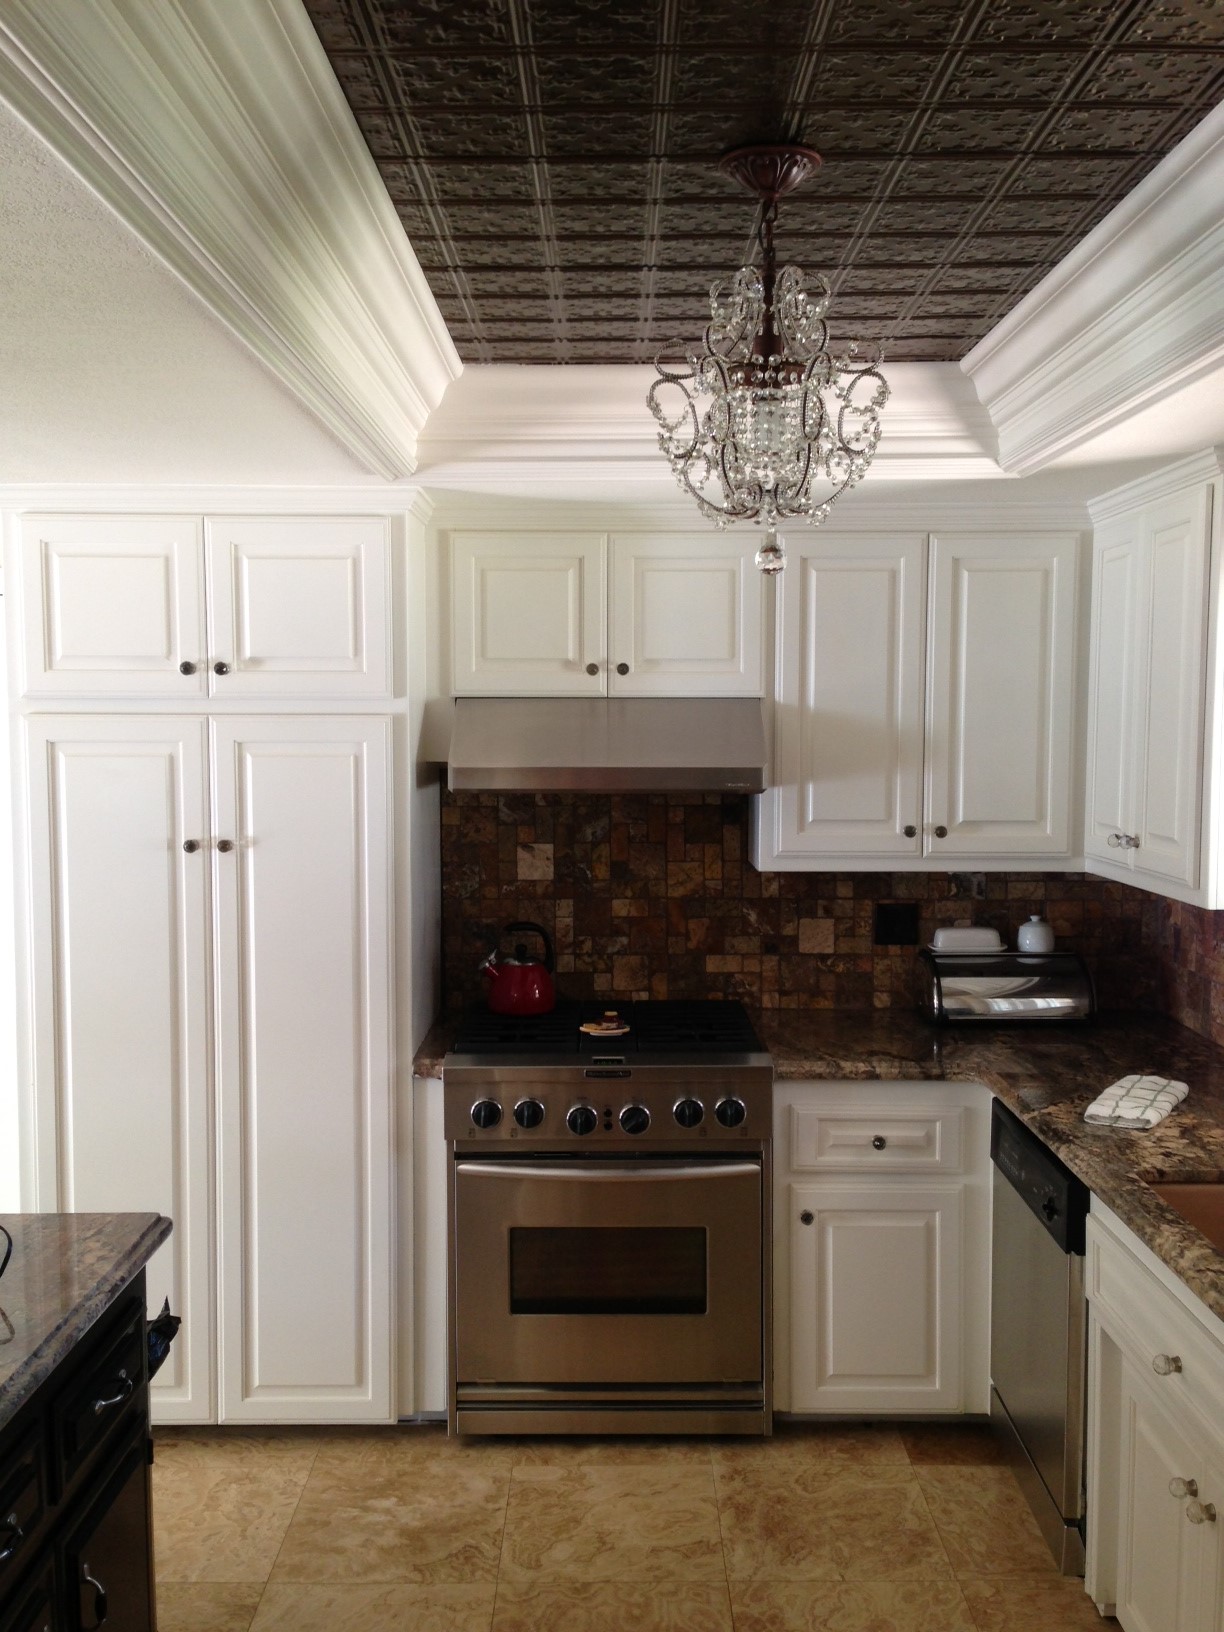
I love the re-do especially using the ceiling tiles and crown molding and trim you used
for the existing light box in the kitchen. I wondered if you could share the cost. I live in Nashville Tn. area and have the same old flourescent light box in my kitchen.
Thank you for your time.
The ceiling tiles were purchased by the customer and we just installed them for an hourly rate. The trim is just built up mouldings, I think we did this one for around $250 plus the tile install, which was maybe $100. Thanks,
Paul